

This tutorial is a personal creation from Valérie Savary, better known as valyscrappassion.com. You can find the original here. Any resemblance with another one would be only pure coincidence. It is strictly forbidden to modify tubes, to change their name or take off the watermarks, to present them on your sites or blogs, to share them in groups, to make a bank of images or to use them on lucrative purposes.
Thank you to respect Valérie’s work and other creators' work mentioned in the original tutorial. Don’t hesitate to warn me if you have any trouble with this translation and I’ll try to fix the problem as quickly as I can. You can reach me here.

Foreground color 1 #93b14e
Background color 2 #e3e7dc
Additional color 3 #33571c
Some of these plugins could be under Filters Unlimited 2.0
VM Distorsion - Extravaganza and Natural
&<Bkg Designers lV - Lakeside reflection MMMM
Alien Skin Eye Candy 5 Impact - Glass
XE Xtras
Graphic plus
Open a new transparent image of 800x700 pixels
Create a radial gradient Angle 315 with 10 Repeats with the proposed colors or your own and flood fill the newly created image

Adjust - Blur - Gaussian blur at 30

Effects - Plugins - VM distortion - Vision impossible with default settings

Effects - Edge effects - Enhance more
6
Repeat the VM Distorsion effect a second time
7
Effects - Plugins - &<Bkg designers lV - Lakeside reflection MMMM with
default settings

Layers - New raster layer
Selections - Load/Save from the disk - Selection 'Porte-bonheur VSP 1'

Flood fill with Color 1 (#93b14e)
Effects - Plugins - VM Extravaganza - shoutin1 with default settings except for Transparency at 0

With your Magic wand (by default settings), select the thin rectangle on the right and delete

Selections - Select all - Float
Effects - Plugins - VM Natural - Lightburst with default settings

Do not deselect
12
Effects - Plugins - Alien Skin Eye Candy 5 Impact - Glass with these settings

Selections - Select none
13
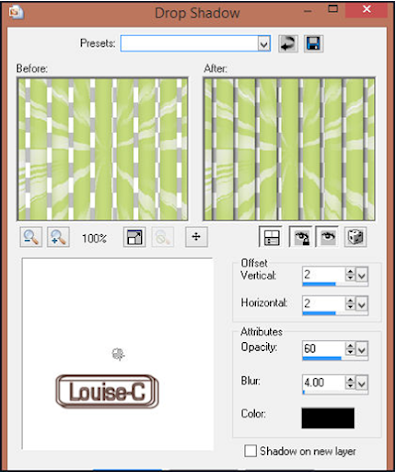
Effects - 3D Effects - Drop shadow 2/2/60/4 with color black
Copy/Paste the woman tube and resize at 110 (or according to your own)
Image - Mirror (if needed)
Adjust - One Step Photo Fix (if needed)
Place the woman as shown in the final result

Copy/Paste the tube 'coin'
Place it in the upper left corner
Effects - 3D Effects - Drop shadow 2/2/55/10 with color black

With your Text tool, select the font Porcelain (in the Materials), select Bold and size 120, modifying your colors to Foreground color 1 (#93b14e) and Background with color 3 (#33571c)
Effects - Plugins - Alien Skin Eye Candy 5 Impact - Glass with these settings

Effects - Plugins - Alien Skin Eye Candy 5 Impact - Perspective shadow with these settings, reversing the bottom line so that the written text is mirrored (this is done by clicking on the bottom limit line of the selection and sliding it to the top)
Note that the settings may vary a little according to where your 'watery' zone is located in your image

Copy/Paste the tube 'muguet'
Image - Mirror
Image - Free rotation at right of 5
Place the image as shown in the final result
Effects - 3D Effects - Drop shadow 4/4/55/16 with color black

Copy/Paste the tube 'nœud'
Place it as shown in the final result
Effects - 3D Effects - Drop shadow with same settings as before
Add symmetric borders of 5 px with color 2 (#e3e7dc)
Add symmetric borders of 10 px with color 3 (#33571c)
With your Magic wand, select this border
Flood fill with the radial gradient like before but with
Foreground color 1 (#93b14e) and Additional color 3 (#33571c)

Do not deselect
23
Effects - Plugins - Graphic plus - Cross shadow with these settings 145/50/101/50/113/50/128/128

Selections - Select none
24
Add borders - uncheck 'Symmetric' and enter these settings with color 1 (#93b14e)

Copy/Paste in the selection the image 'fond VSP 1'
Selections - Invert
Effects - 3D Effects - Drop shadow 4/4/55/8 with color black

Selections - Select none
Image - Add symmetric borders of 5 px with color 2 (#e3e7dc)
Image - Add symmetric borders of 10 px with color 3 (#33571c)
With your Magic wand, select the 10-px border
Flood fill with the previously used radial gradient
Do not deselect
Effects - Plugins - Graphic plus - Cross shadow with the same settings as before

Selections - Select none
28
Layers - New raster layer
Selections - Load/Save the selection 'Porte-bonheur VSP2'

Copy/Paste into the selection the tube 'Déco VSP'
Selections - Select none
Effects - 3D Effects - Drop shadow 4/4/60/8 with color black

Image - Add symmetric borders of 30 px with color 3 (#33571c)
With the Magic wand, select this border
Effects - Plugins - XE Xtras - Elemental - Sky - Basic clouds

Aucun commentaire:
Enregistrer un commentaire